Since it’s release Raspberry had a huge impact on the industry. “A low cost, credit-card sized computer that plugs into a computer monitor or TV capable of doing everything you’d expect a desktop computer to do, from browsing the internet and playing high-definition video, to making spreadsheets, word-processing, and playing games.” Especially the third generation which reached approximately 6mln sales per year.
Is a new model the game changer
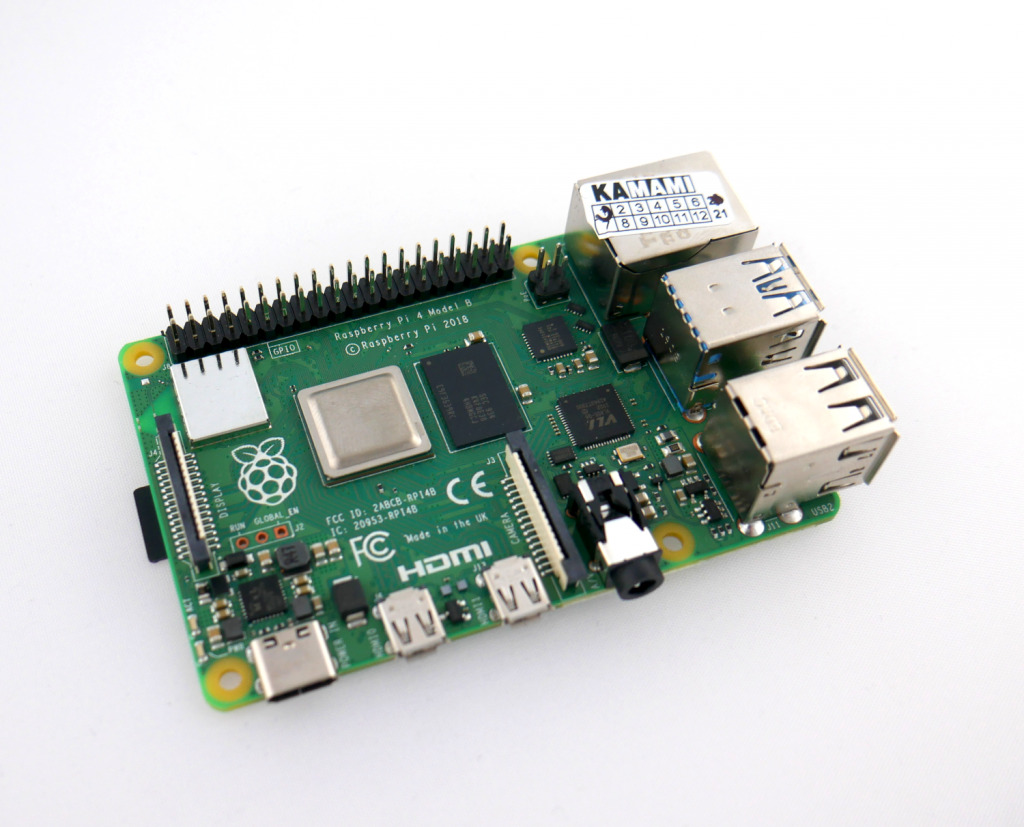
The Raspberry Pi 4 takes Pi to another level, with the performance that’s good enough to use in a pinch as a desktop PC. The company claims that the new model is able to handle 4k video at 60Hz or power dual monitors.
It’s not a hollow statement. Many tests proved that there’s a huge leap between the third and fourth generations. A Linpack offers a glimpse at just how far the Raspberry Pi family has come. Roy Longbottom version of a synthetic benchmark measures parameters such as: the fast single-precision, double-precision and a single-precision accelerated by NEON instruction available since Raspberry Pi 2. From a benchmark perspective, we can notice a tremendous increase in performance over Pi 3B+ model:
- 4x greater CPU performance
- 2x faster browsing speed
- 50% more fps while playing Quake III!
Among other countless changes in performance, such as: improved Memory bandwidth, faster GPIO switching, better file compression. First time in history Raspberry offers customizability. Now we can choose between 1,2 and even 4GB of RAM.
Building minimal image with Yocto
Following a rule of embedded systems saying not to build things that you will never use, we are going to build a core-minimal-image. It’s an image with an extremely small footprint and its a great thing to start with.
All actions will be performed on Ubuntu 18.04. Before we start make sure that all required tools are installed and that you have enough free space on the system, it is safe to have at least 50gb of free space. To install needed packages type:
|
|
The most common tool to connect with Raspberry is UART interface. It will be also used in this post. I also use USB Type-C to power up the device. At this point, we can start for real. First of all, let’s download Yocto then switch to the “zeus” branch which is the newest community version of Yocto at the time of writing this post.
|
|
When cloning is finished we need to create a build directory and set up all the environmental variables, paths, etc. It can be obtained by typing:
|
|
Yocto repository contains an extremally useful layer containing board support a package called meta-raspberrypi that we need to add to our working directory.
|
|
Before we build we need to make some changes in crucial configuration files.
Let’s start from editing bblayers.conf located in ~/Yocto/poky/build/conf.
This file tells bitbake about the location of various layers locations which are
used to configure things like the target of a build and the location of output
files.
First of all we need to add meta-raspberrypi layer we can do that by appending
it to BBLAYERS. The result should look like this:
|
|
Then let’s move to editing another file in the same directory. This time we dive
into local.conf which is one of the most important files where many changes
take place.
First of all, we have to specify the machine on which we are working on. To do
that just edit line containing MACHINE ??= to look like this:
|
|
By default image’s build runs on number of CPU threads available on given
platform but if you want you can change that value to e.g. 8 threads by simply
append these two lines to local.conf:
|
|
At this point, we are able to build an image but it would require some additional steps during flashing the image. By adding just a few lines we can make huge improvements:
First of all, we can apply some features already provided by meta-raspberrypi.
If we inspect sdimage-raspberrypi.wks file located in
Yocto/meta-raspberrypi/wic we can see the following lines:
|
|
If we add this to our project, an image will automatically create required
partitions for boot and root on SD card after flashing. To provide that
functionality everything we have to do is to add two lines to the local.conf:
|
|
This will tells Yocto to use sdimage-raspberrypi.wks file when creating a disk
image and create compressed disk image wic.gz and wic.bmap which is a block
map file.
To save some time in the future we can also make Yocto responsible for enabling
UART what we will need in the future, so add to local.conf following line:
|
|
That’s it. Now we can use BitBake to build the image.
|
|
If everything was successful we should see message similar to this:
|
|
Now among many files located in
Yocto/poky/build/tmp/deploy/images/raspberrypi4-64 we can find the ones which
we will use to flash SD card. The easiest way to do that is to type:
|
|
Where core-image-minimal-raspberrypi4-64.wic.bmap and
core-image-minimal-raspberrypi4-64.wic.gz are symbolic links that we are going
to use.
Now we can insert the SD card to PC and necessarily check it’s location e.g. by using:
|
|
It will look like this:
|
|
It’s important as flashing an image to the wrong location may cause serious
damage. To do that we need one more tool called bmap-tools. If it’s not
already installed you can do that by typing:
|
|
Then we need to unmount our SD card and flash an image with bmaptool command.
|
|
, where [X] is the location of a SD card.
We can now see the results by powering on raspberry and connecting it via UART to PC. Then type:
|
|
Then press enter and log in as root.
Summary
That was a quick example of how to start with new raspberry pi4 and make the first steps with an extremely powerful tool called Yocto. If you want to dive deeper into the embedded world I highly recommend visit more blogs from 3mbed(https://blog.3mdeb.com/) or visit excellent blog which was an inspiration for that post. Also we want to thank The European Regional Development Fund for the subsidy of the “Presentation of 3mdeb Embedded Systems Consulting software solutions for international markets” project realized by the 3mdeb Embedded Systems Consulting company.
Paweł Zaborny