Introduction
If you haven’t read the previous TrenchBoot AEM blog post or our project plan yet, it may be a good lecture to catch up on what the TrenchBoot AEM project is about. This post will guide you through the most recent progress and show a demo of TrenchBoot AEM in action, plus installation steps.
You can also stay updated on our project’s progress by visiting our GitHub milestones, and join our discussions in the public Matrix channel, where everyone can participate and share their thoughts.
UPDATE 2024-01-09: changed wget to curl. QubesOS doesn’t have wget
installed by default. Also added a link to instructions for copying files to
dom0.
What’s new in TrenchBoot AEM?
The main focus of this phase was to get the TPM 2.0 working with Qubes OS AEM scripts on the DRTM boot flow in TrenchBoot (GRUB and Xen). Let’s go through each of the tasks quickly.
Implement parallel CPU cores bring-up for DRTM launch
It is not strictly related to TPM 2.0 support, but after phase 1, it occurred to be necessary to clean up the code for CPU bring-up in Xen. As the phase 1 was just a Proof of Concept, some inefficiencies in the code happened to land. The most significant change in this pull request is the parallel bring-up of the CPUs, in opposite to the previous implementation, which caused the CPUs to wait in a queue. It had to be fixed because PoC implementation hardcoded some of CPU features as enabled, which could potentially break booting without DRTM.
Support for TPM 2.0 module in Xen
With the introduction of TPM 2.0 support, Xen also required changes that would perform the dom0 kernel and initrd measurements properly. As a quick reminder, TPM 1.2 and TPM 2.0 communication protocols to extend the PCRs with software measurements differ slightly. Also, TPM 2.0 uses stronger hash algorithms than TPM 1.2, like SHA256, which had to be added to Xen. Changes are outlined in this pull request.
Support for TPM 2.0 event log in Xen
Similarly to the previous task, besides the communication protocol difference, the event log, where the information about measurements is stored, differs between TPM 1.2 and TPM 2.0. As a next step after measuring the dom0 kernel and initrd to TPM 2.0 PCRs, we had to record the hashes in the event log in TPM 2.0 compliant format. The event log is a very important chunk of information, which lets one confirm what is measured and if the TPM PCRs actually match the values that have been extended. Changes to Xen are outlined in this pull request.
Integrate TPM 2.0 software stack into Qubes OS Dom0
This is where the changes outside of Qubes OS sources end. A first prerequisite to making the AEM scripts talk to TPM2 was to include the appropriate tool stack. Up till now, AEM implementation only had the TPM 1.2 software and utilities included. This pull request outlines TPM 2.0 software, which has been included in Qubes OS initrd and will be used by AEM scripts later.
Extend the AEM scripts to detect TPM version on the platform
Before TPM 2.0 could be used, we had to prepare routines that detect the TPM version and temporarily refuse to use AEM if TPM 2.0 is detected. It was just a stepping stone to avoid issuing unsupported commands to TPM 2.0 using TPM 1.2 software until proper TPM 2.0 support is added. Changes are outlined in this pull request
Extend the AEM scripts to use appropriate software stack for TPM 2.0
Now that we have the TPM version detection in place, we could start implementing the equivalent AEM functionality for TPM 2.0. The scripts have been generalized and split into separate “libraries” for TPM 1.2 and TPM 2.0 with a unified, higher-level API, abstracting the TPM version in the main AEM logic. First, we have isolated the TPM 1.2 support and prepared the higher-level API as a grounding for the incoming TPM 2.0 support in this pull request. Then, we proceeded with adding the actual TPM 2.0 support in this pull request. Besides the changes in the main AEM repository, there were various other extra repositories, which were responsible for features like Qubes OS disk migration to another machine (i.e., to detect multiple different TPMs on different devices when AEM is used). Those also needed TPM 2.0 equivalents to maintain the functionality. The changes are outlined in the following pull requests:
Test TPM 2.0 support on Intel hardware with legacy boot mode and Update Qubes OS AEM documentation
Of course, the changes had to be validated using Intel-based platforms capable of doing DRTM with TPM 2.0. As a reminder, older Intel platforms like 3rd generation Ivy Bridge could only support TPM 1.2 with Intel TXT (Intel’s DRTM technology), so for testing purposes, we had to use newer hardware. It also goes without saying that the test should be conducted on the machine with TPM 1.2 to check if the new changes didn’t break anything.
As a cherry on top, the Qubes OS AEM documentation was extended and improved to reflect the current state of AEM support, now covering TPM 2.0. Unfortunately, it still supports legacy boot mode only. But support for UEFI boot mode will also be added in the future. The changes are outlined in this pull request.
Installation procedure
To summarize our efforts, a short demo/instruction has been prepared showcasing the newest Qubes OS AEM installation and utilization on a relatively modern Intel platform with TPM 2.0 - a HP EliteDesk 800 G2 DM.
You can download the TrenchBoot AEM v0.2 packages from 3mdeb’s FTP and verify their integrity using this key:
|
|
Our starting point is the fresh installation of Qubes OS R4.2.0-rc3 with the TrenchBoot AEM v0.2 packages and Intel SINIT ACMs placed in dom0 home directory. To download SINIT ACMs from Intel portal, simply invoke:
|
|
Assuming that the RPMs and ZIP are in your dom0 home directory already, open the dom0 terminal. Unzip the ACMs package and copy the right ACM to the boot partition. In our case it is:
|
|
Next, install required dependencies for AEM (we do it manually because we install local RPM packages later):
|
|
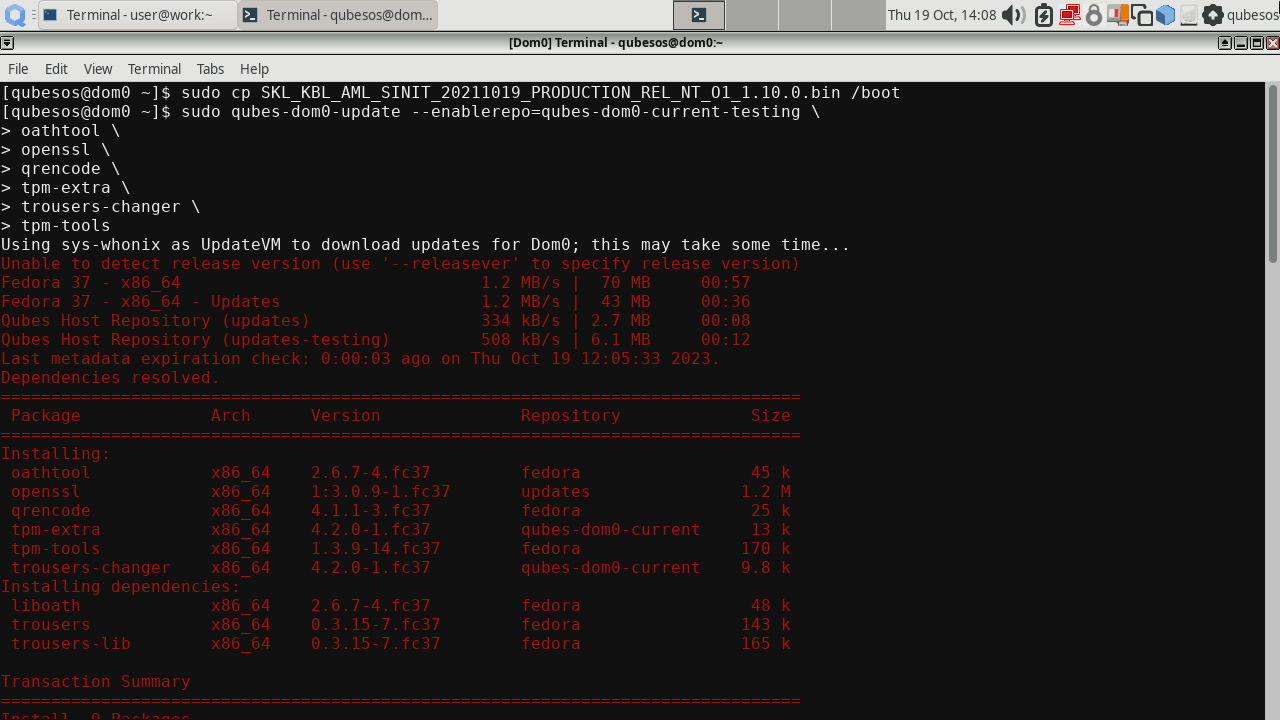

Then install the following packages:
|
|
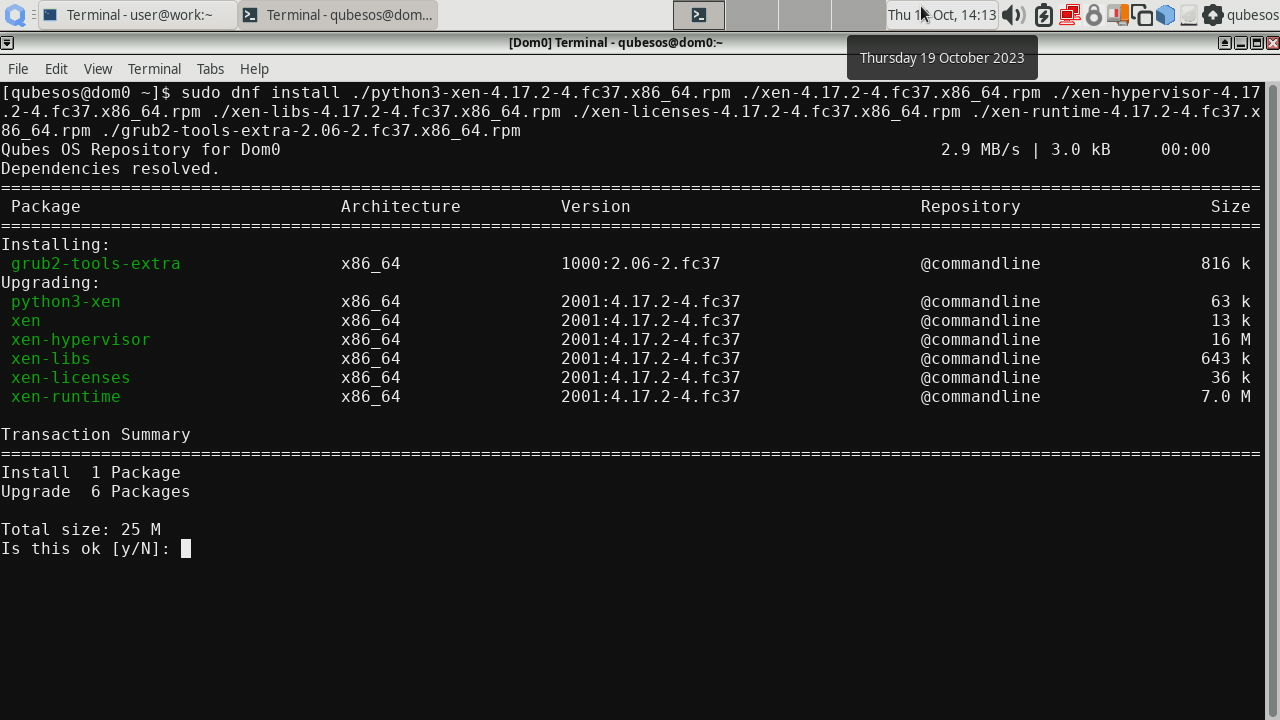
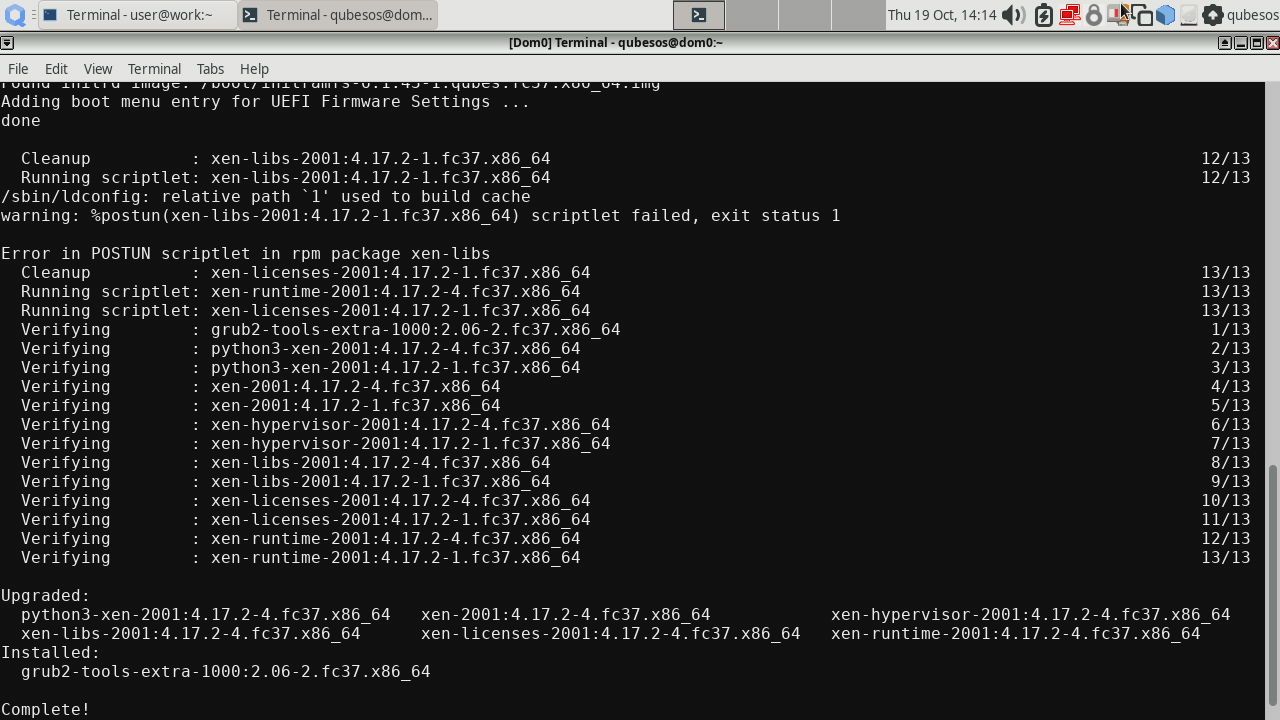
There might be an error in the xen-libs installation, but it does not affect AEM operation. The cause is yet unknown.
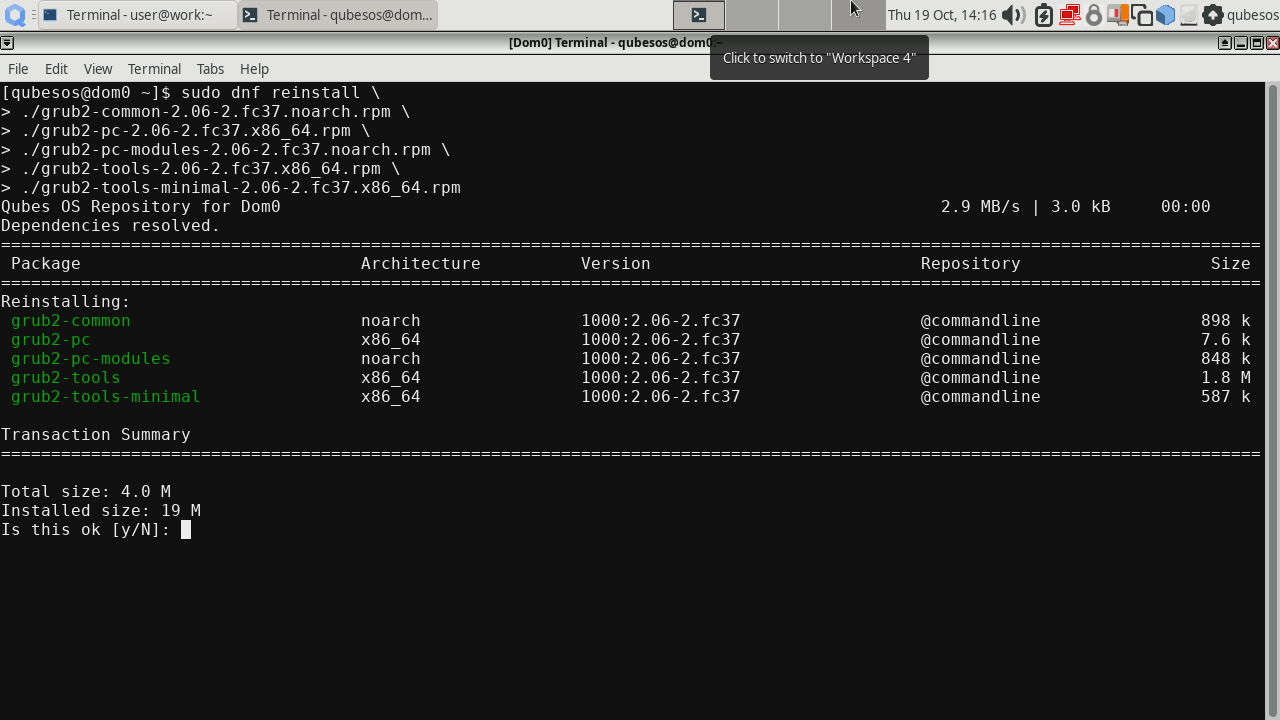
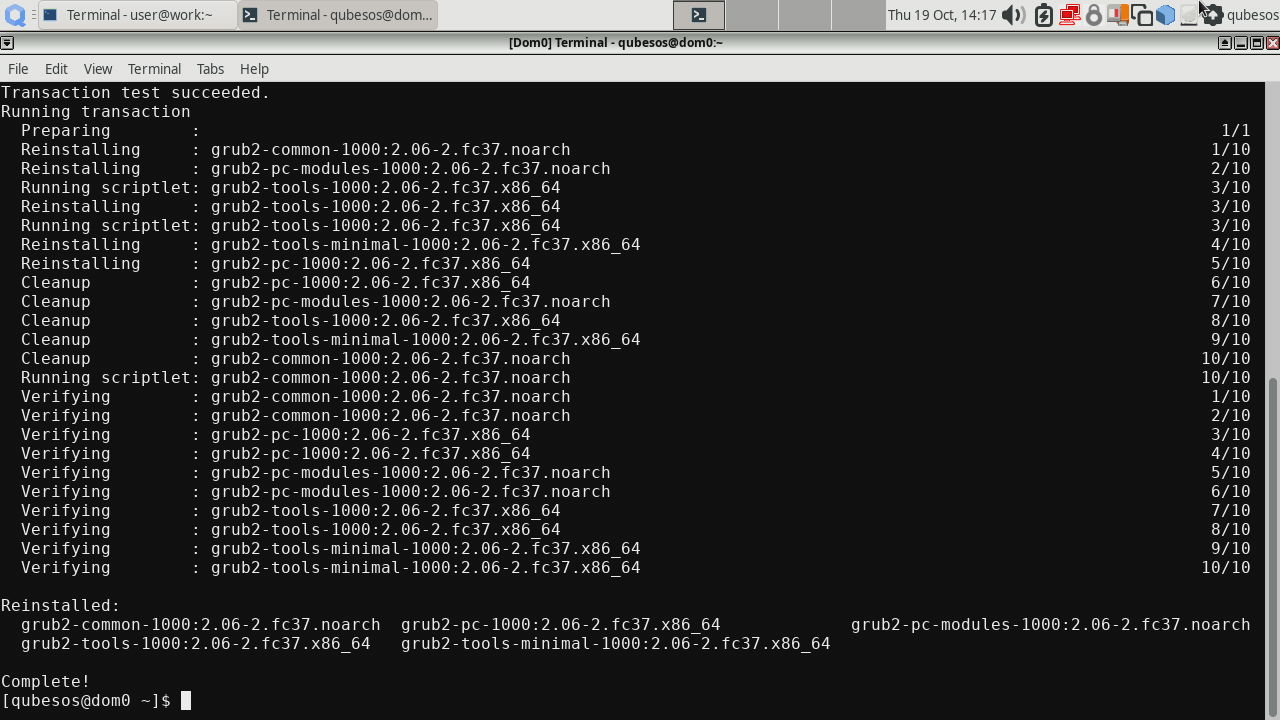
Then reinstall the following packages (these need reinstall command because the version in the RPMs did not change compared to the version provided in Qubes OS R4.2.0-rc3):
|
|
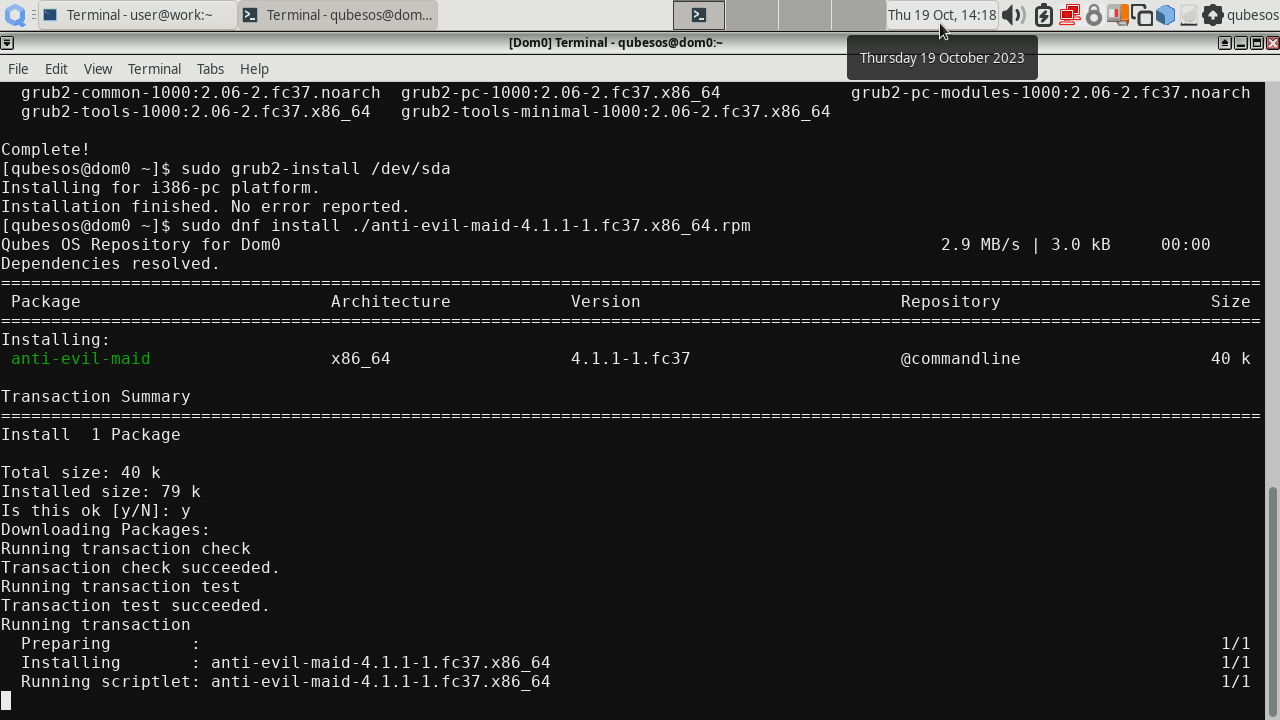
Before installing AEM package, we also need to perform GRUB installation to
the disk where Qubes OS is stored, in our case it is /dev/sda (yours may be
different so watch out!). This will ensure the support for DRTM is installed
in GRUB:
|
|
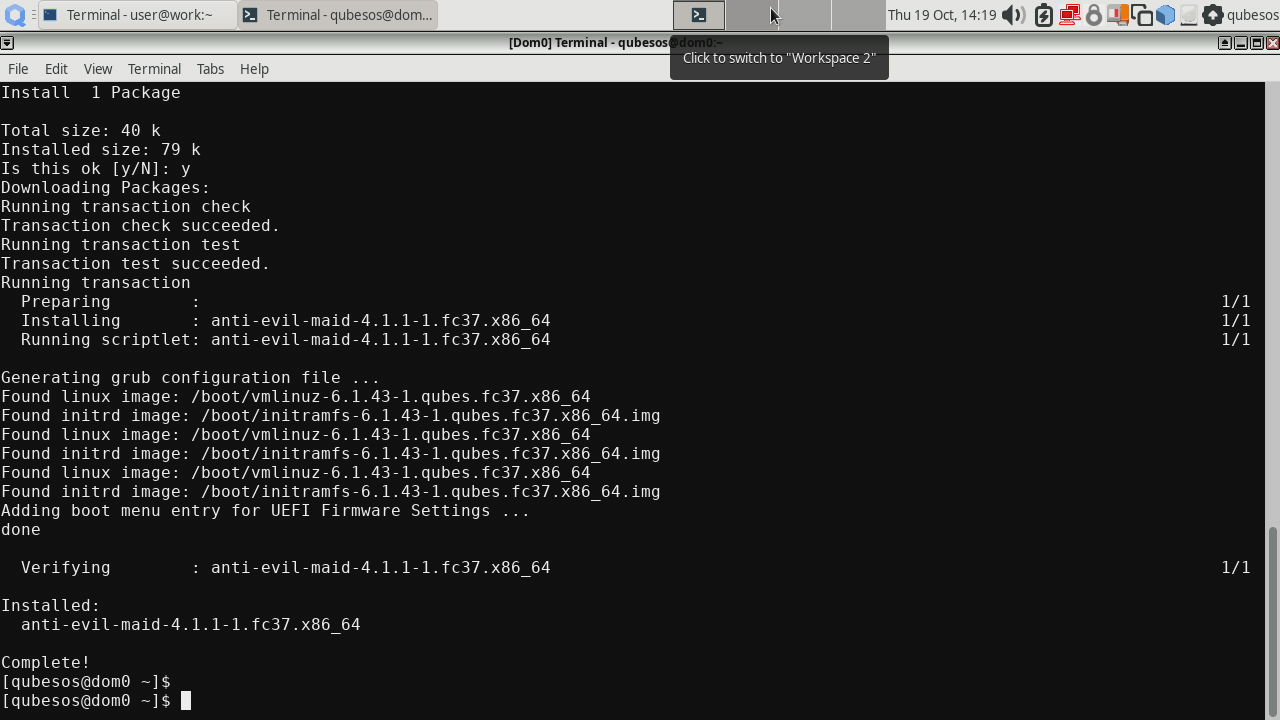
At last we can install the AEM package itself:
|
|
When installing AEM package it may seem that it hung at
Running scriptletstep. Please be patient and let the system finish installation.
AEM provisioning
All packages are in place. Before we can proceed with provisioning AEM, we have to clear the TPM in the BIOS. Some platforms may require disabling Intel Trusted Execution Technology (TXT) in order to clear TPM. So after you clear the TPM, remember to enable Intel TXT back, otherwise AEM will not work. Once TPM is cleared, perform the TPM setup:
|
|
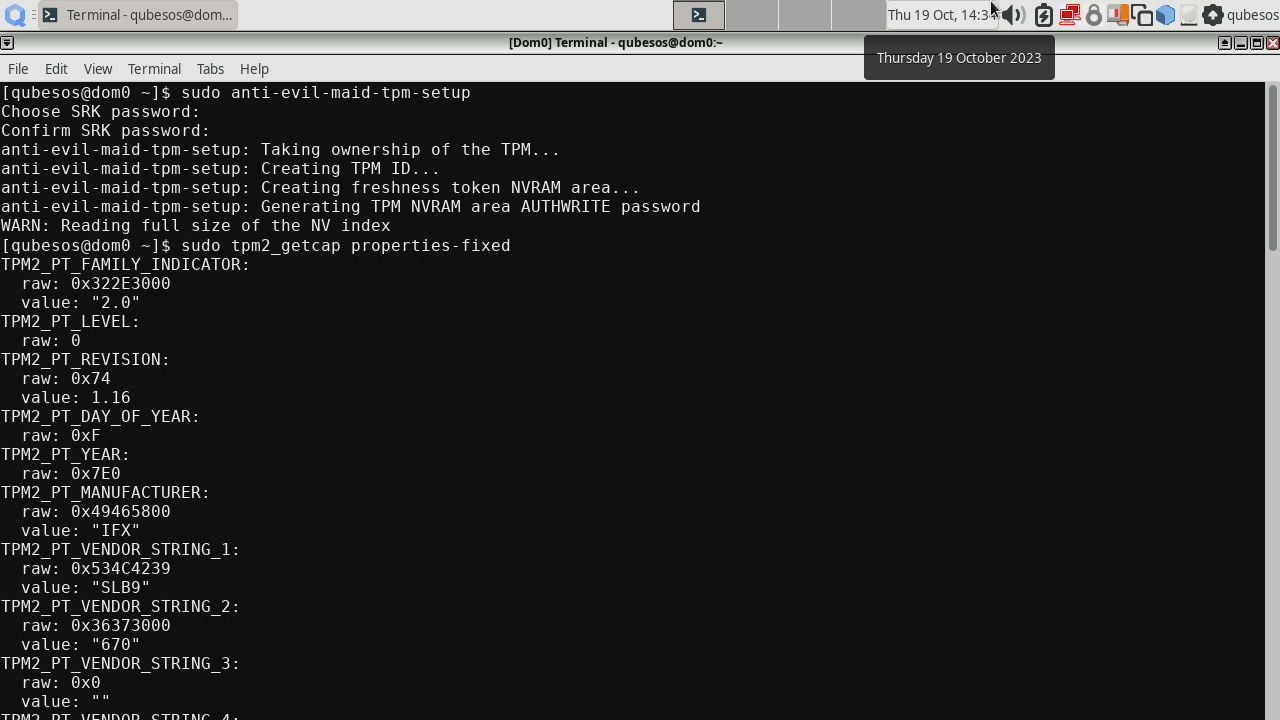
You will be prompted to set the SRK password, it is a password to access TPM’s nonvolatile storage where the AEM secrets will be sealed. I have also shown the TPM properties to prove that we are using TPM 2.0. You can omit this. If you failed to clear the TPM, you will be shown a message like this:
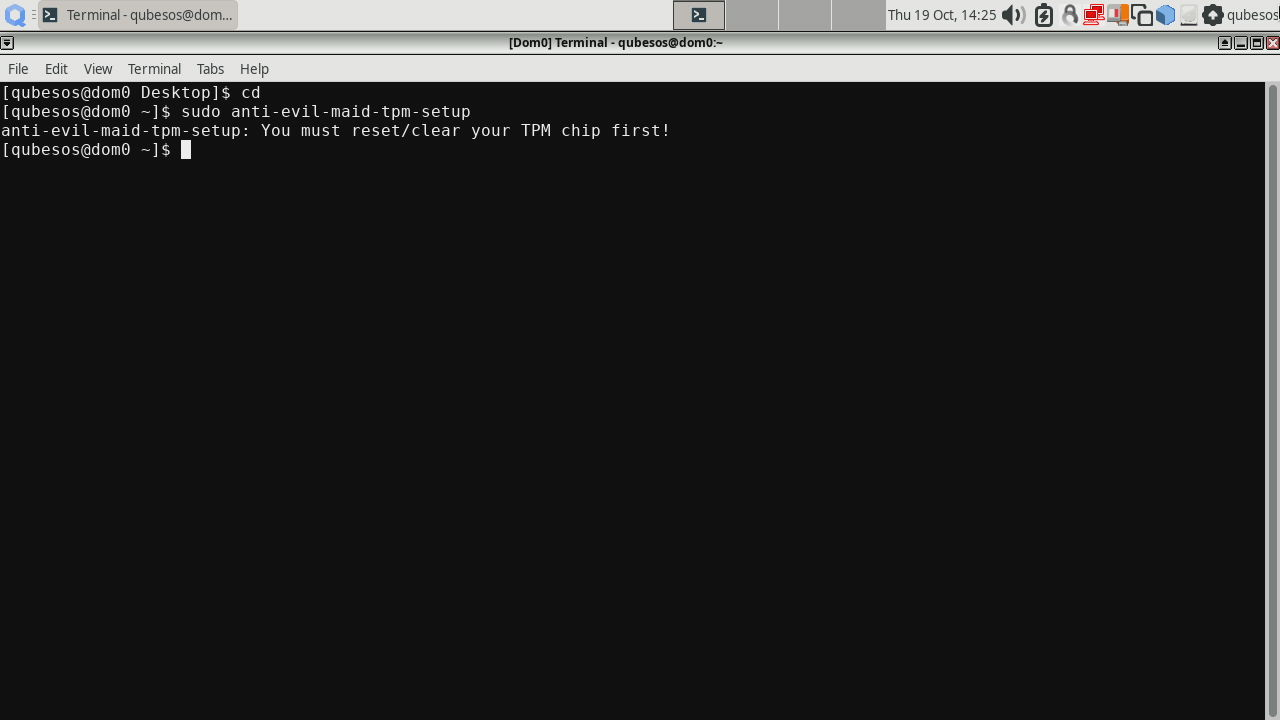
Try clearing the TPM again and repeat sudo anti-evil-maid-tpm-setup.
Now let’s perform the AEM installation. In our example we are installing the
AEM with MFA to the internal disk where Qubes OS is installed. This is
generally not recommended, because using MFA and internal disk does not
provide any extra security over not using MFA. But it is just for
demonstration purposes. So in your case feel free to install AEM even on an
external storage, or omit -m to install it without MFA. In our case the
boot partition is /dev/sda1 (yours may be different depending on where would
you like to install AEM).
|
|
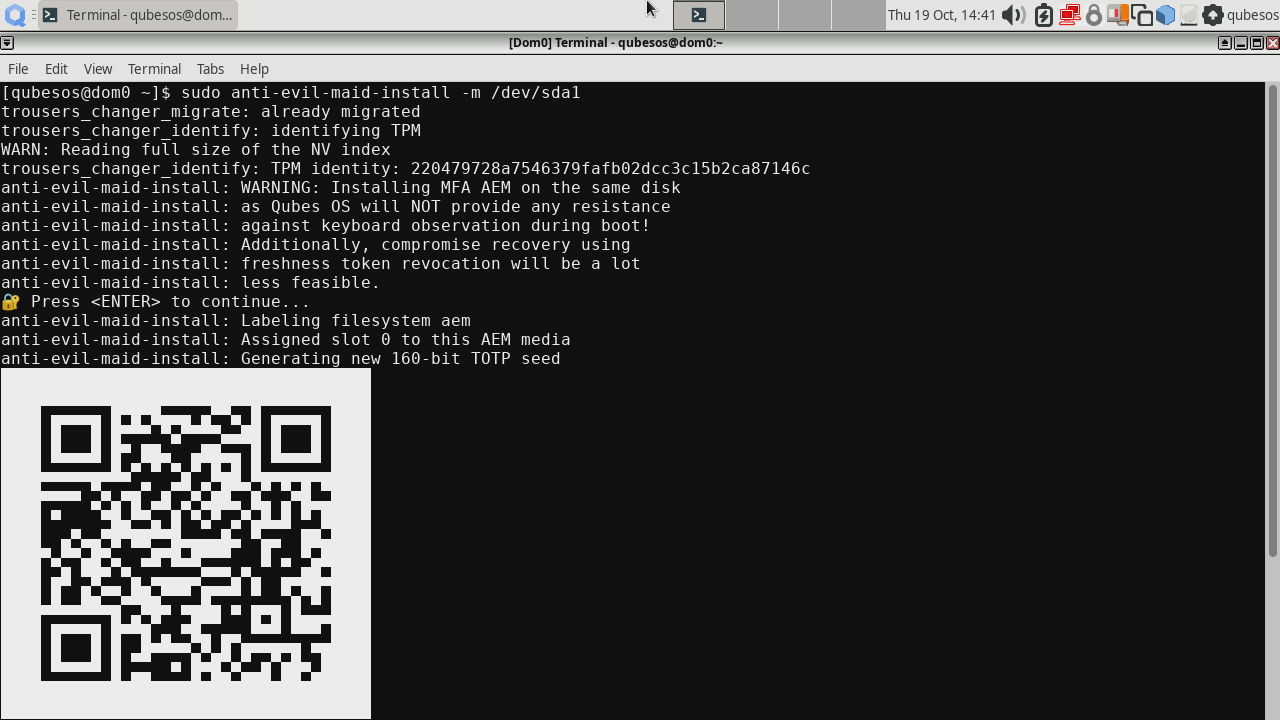
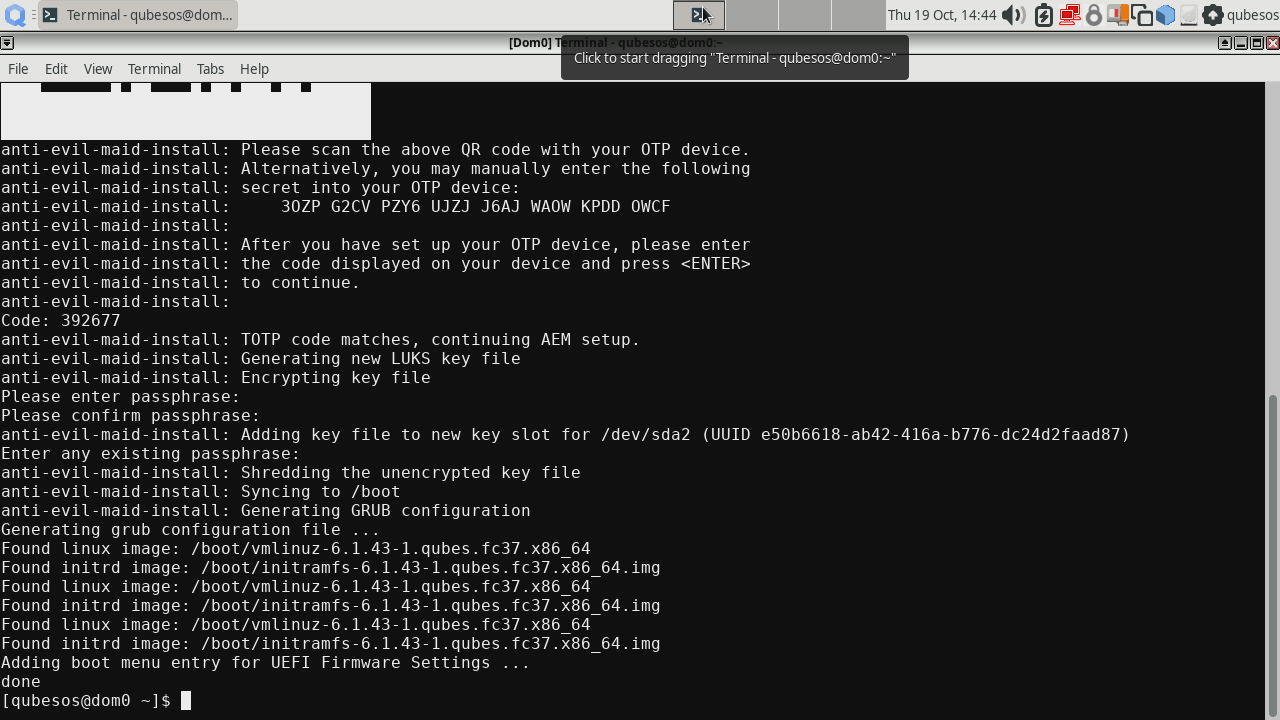
If you chose MFA, then you will be presented a QR code to scan with an authentication app of your choice. it will show you a TOTP code later at boot process. This step will also ask you to provide a password for the secret and second time to provide any of the disk passwords for confirmation.
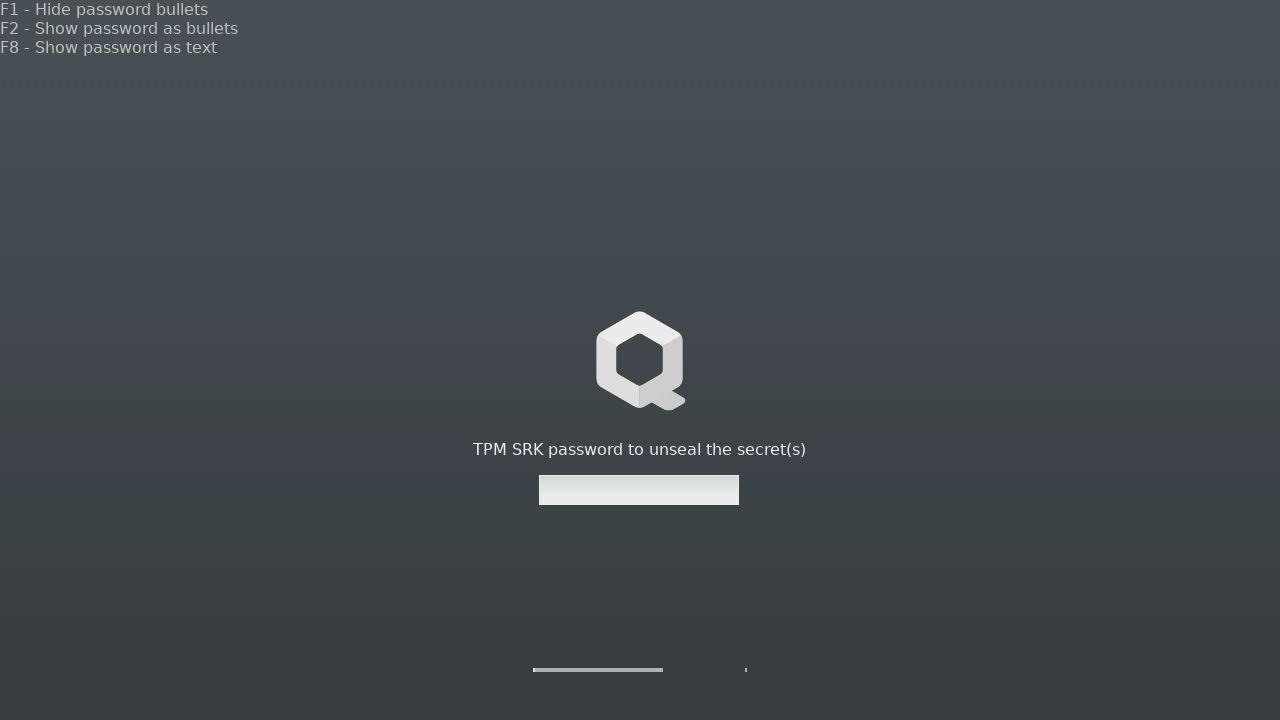
The system now is ready to perform AEM boot, so reboot your machine! Now you should be presented with a SRK password prompt like this:
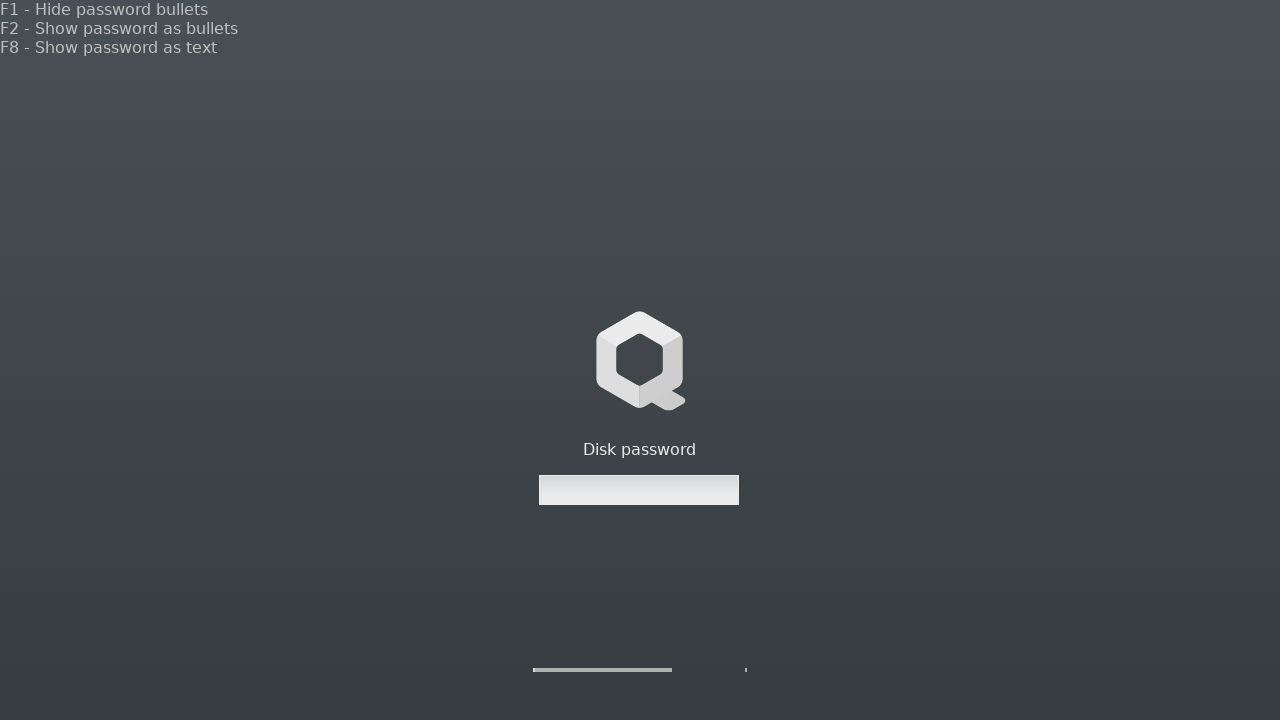
And later with the standard disk password prompt:
After that AEM will print the messages saying that the secrets have been sealed to the LUKS PCR 13 DRTM PCRs 17 and 18:
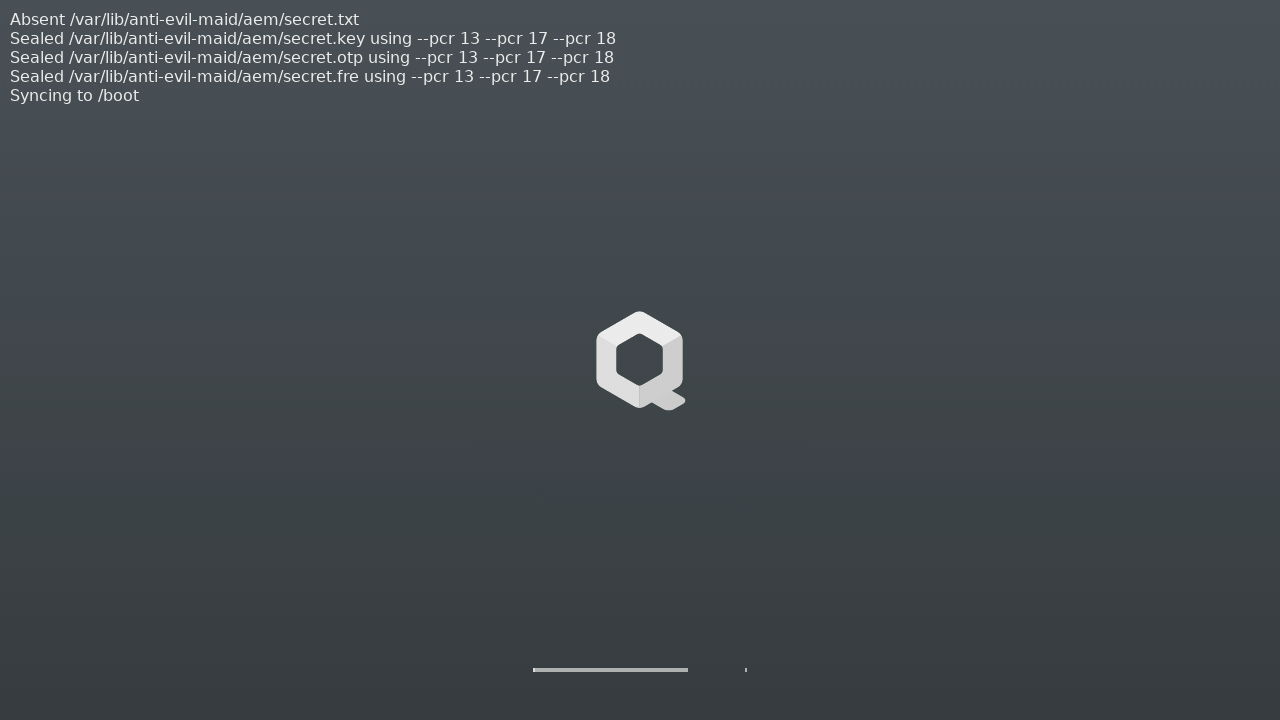
You should see the above screen only once (unless you change something with GRUB, Xen or dom0 kernel/initrd). Now that the AEM knows what the final PCR values should be, after next reboot AEM will successfully unseal the secrets it just sealed before a moment, and present a TOTP code. If everything went correctly, the PCRs should not change after reboot and you should be presented a TOTP code during LUKS key file password prompt, like this:
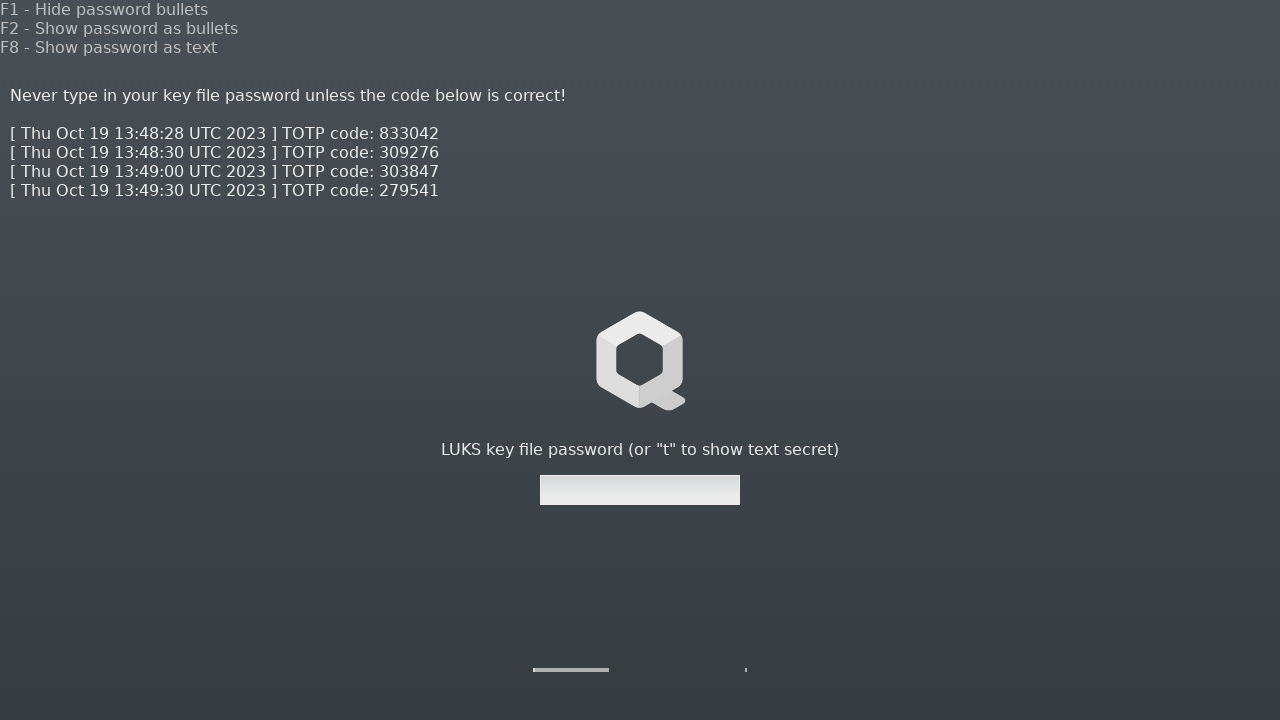
Check the TOTP code in your authenticator app to ensure it is correct and then
type the password provided in the anti-evil-maid-install step. If there was
any error, it should be displayed in the top left corner of the screen and you
would be prompted for your regular disk password, because the LUKS key would
not be unsealed by AEM.
Troubleshooting
Sometimes the TOTP code does not immediately appear after second reboot, because the AEM secret could not be unsealed. It may be caused by the TPM safety timer. If your machine was not safely shut down (e.g. due to a power loss) and it had been running for less than approximately 70 minutes (2^22 ms) since, you may experience such issue. Simply try to reboot the machine at a later time and TOTP should appear.
You can check the AEM services status using the following command in dom0:
|
|
Summary
It has been quite a long journey implementing the TPM 2.0 support, yet much more awaits us. We bet you are eager to hear more about TrenchBoot AEM and can’t wait to see the AMD DRTM or UEFI boot mode support coming to Qubes OS. It will be the first time AEM is launched on an AMD platform, which certainly stirs up some hype. If you like what we do, please consider supporting us:
- if you can hack a bit, your testing results will be invaluable,
- spread the word about us and the project on social media,
- any other way you see fit.
If you think we can help in improving the security of your firmware or you are
looking for someone who can boost your product by leveraging advanced features
of used hardware platform, feel free to book a call with
us or
drop us email to contact<at>3mdeb<dot>com. And if you want to stay up-to-date
on all things firmware security and optimization, be sure to sign up for our
newsletter: