Embedded Systems Consultants have chance to live in interesting times. ARM expansion touch server market and UEFI coming to non-x86 platforms. Firmware gaining its importance and because handling real development is harder and harder lot of things starting to happen in open source. Big players trying to address security and virtualization issues, what leads to really interesting features in recent SoCs.
Couple weeks ago I decided to recover my knowledge about UEFI and take a look how it is implemented for architecture that have its momentum - namely ARM in its 8 version (ARMv8). Short review of technology reveal universe that should be studied by every aspiring Embedded Systems adept.
Choosing ARMv8 dev board
First problem was to choose development board. Probably simpler solution is to use platforms like Raspberry Pi 3 which features Broadcom Cortex-A53 or very interesting alternative like PINE64 with Allwinner flavour.
Of course rush on this market bring other players like Amlogic with Odroic-C2. It is worth to mention that adaptation of new architecture is very slow. It was announced in 2012. First real product was released by Apple (iPhone S5), but despite various commercial products, since 2012 not much appeared on low end development board market, which is probably main area for makers and prototyping shops. Things start to change last year.
I have RPi3 on my desk but playing with its low level side is not encouraging because of limitation Broadcom put on releasing any information about BCM2837. My goal was to work on UEFI and ARM trusted firmware the only board except expensive ARM reference platforms that seems to work with UEFI was LeMaker HiKey.
Why 96boards ?
- this is open specification - IIRC this is first of its kind and it is high chance to be widely accepted
- its driven by Linaro, which in my opinion do a lot of great work for whole community
- its standardized way with big players behind, so knowing it and having in portfolio cannot damage Embedded Systems Consultant career
- IMO this approach in long term will have better return on investment, then custom quick shots made by not-so-community-friendly vendors
Power supply
Expected power input is 8-18V. I understand the need for higher and wider voltage range, but this is for sure not standard in makers/hackers community. I have ton of 5V/2A power supplies in stock, also for 5V I can use my active USB hub or even PC port for not power hungry devices.
Reasoning behind this choice can be found here.
Finally to not add more USD to my ARMv8 development environment I used my Zhaoxin DC power supply and unused plug from universal power supply.
1.8V UART
My second surprise was that board use 1.8V level for UART. Cables for that level are built with FT230XS or similar chips, which cost ~3USD. To my surprise cable that work with 1.8V UART level cost 30USD. There are 2 separated UART pins to connect on HiKey. One for low level bootloader development and one for Linux kernel development. So I would need to cables. Board cost 75USD, so you paying almost the same price for cables. It was not acceptable for me.
Linaro developers seems to use this which is out of stock for 5 months!
While searching for alternatives I found this TI converter on SparkFun page. Luckily availability of various SparkFun distributors made delivery possible in less then 48h.
After wiring up with TXB0104 everything seems to work ok.
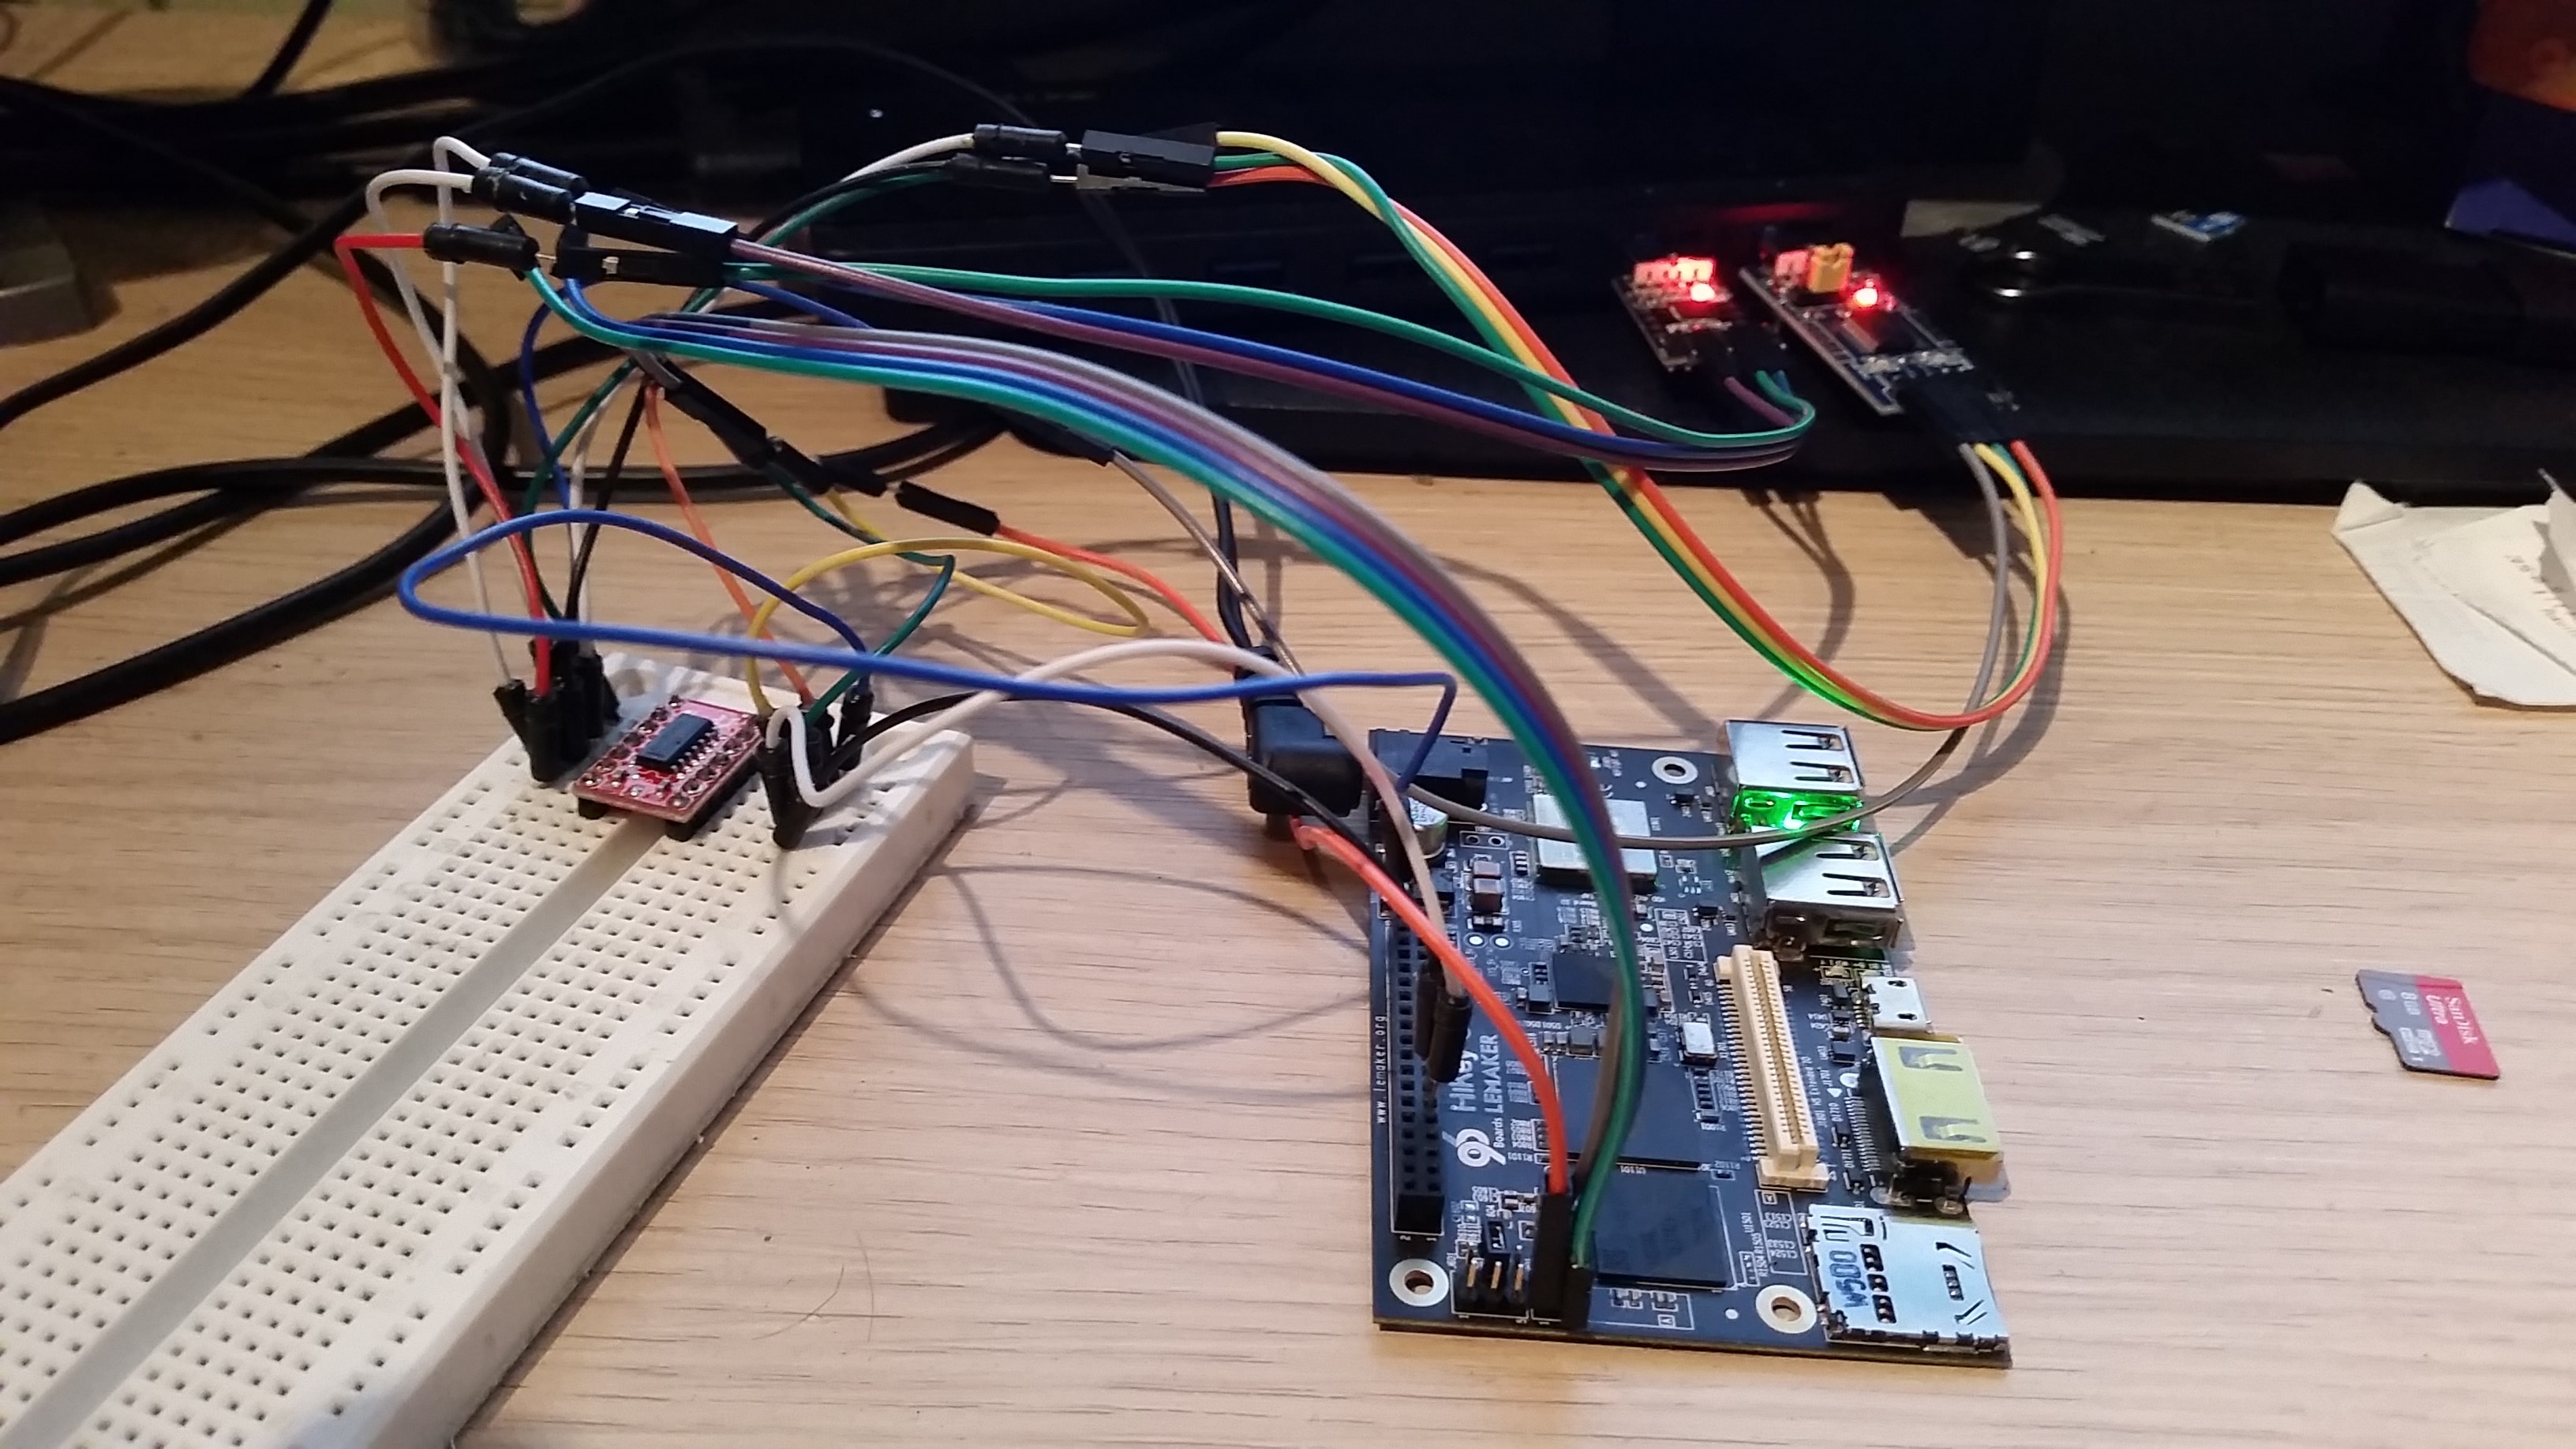
Note that board use 2 UARTs. UART0 for bootloader development. This is
connector with not typical pitch (2.0mm) and UART3 as debug port for Linux
kernel output.
The only problem with wiring is that using one TI chip you can only have one reference Vcc for USB to serial UART, so you have to select one of them as reference and assume that second will have very similar level without much noise. I understand this is electronically probably not perfect, but I moved forward with that budget solution.
Booting OS
Board is pre-installed with Debian, so +1 for choice. It boots smooth and you can also see bootloader logs.
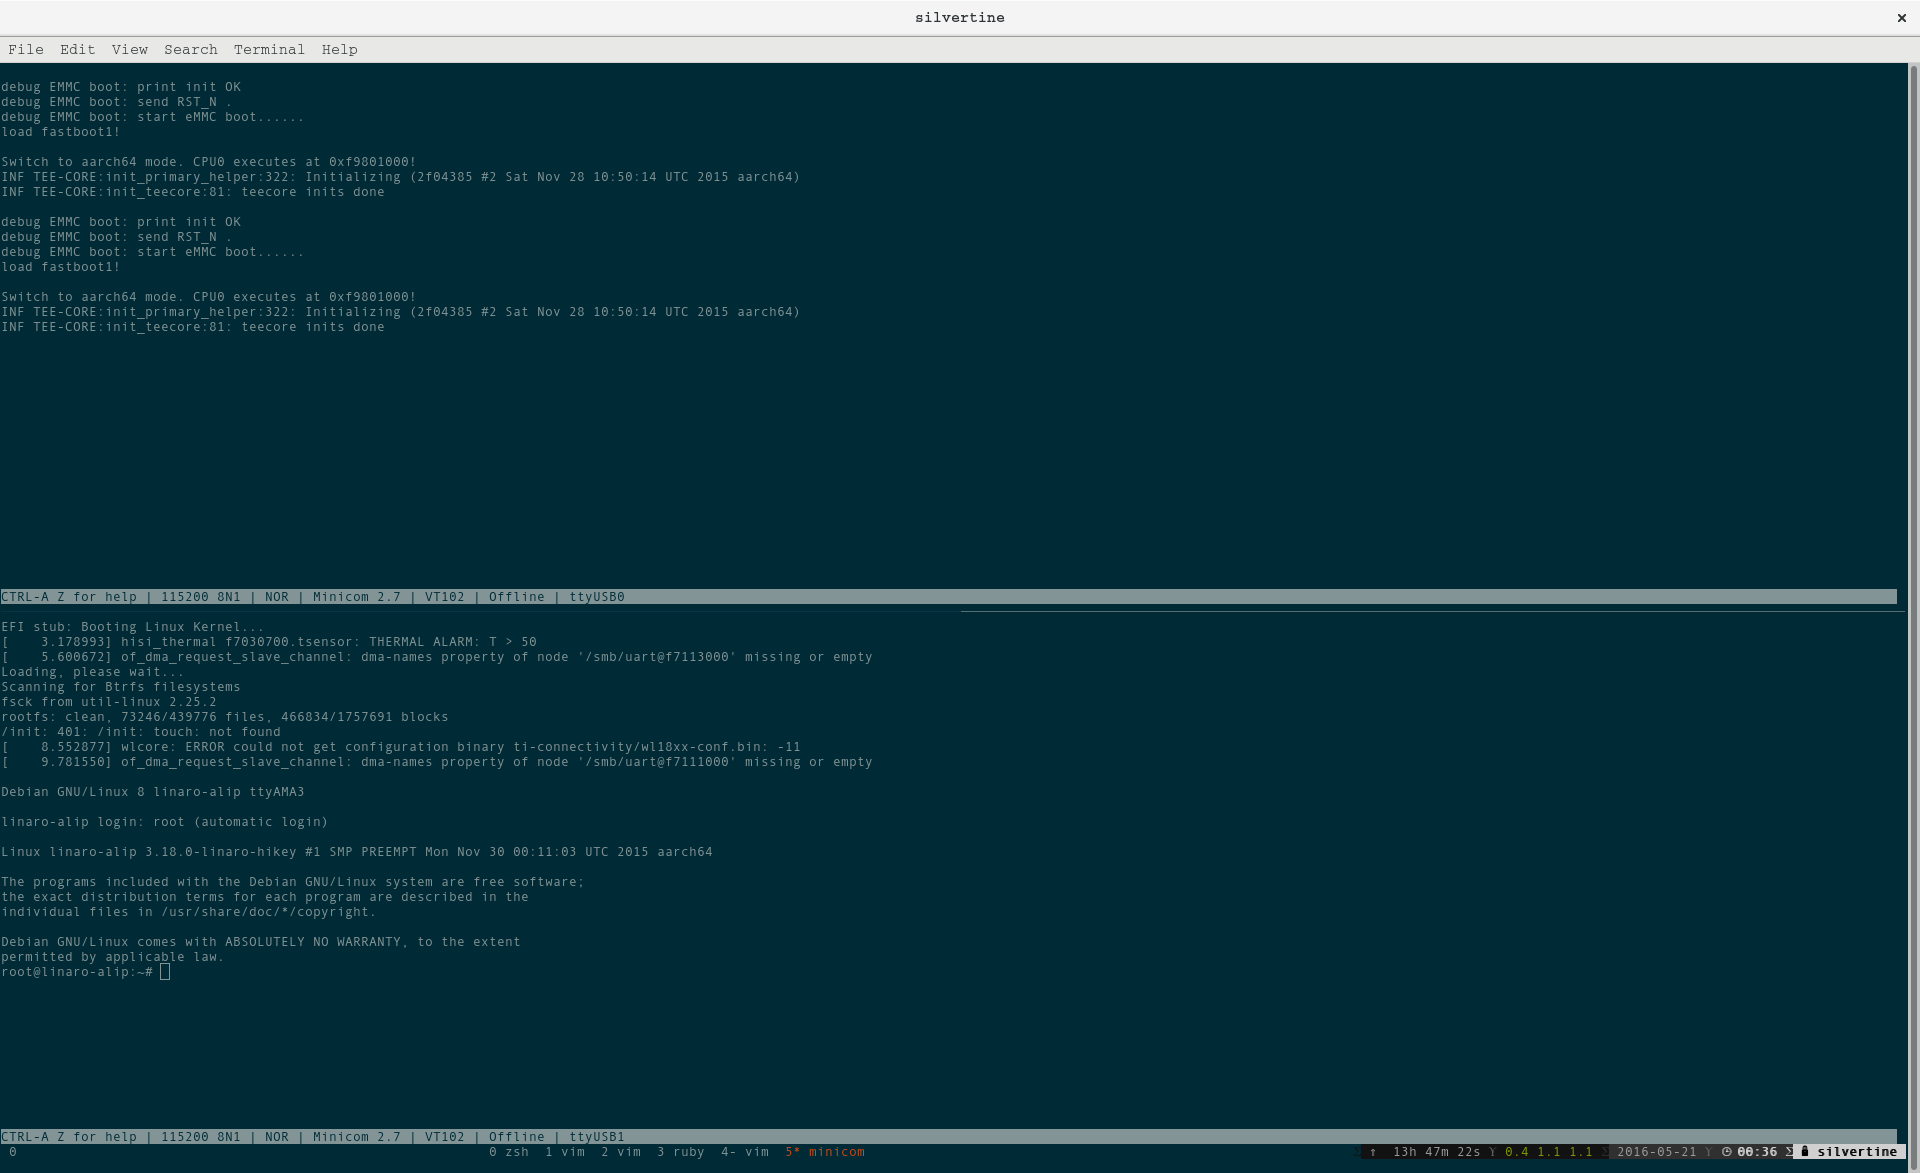
On top there is bootloader on bottom booted Debian. Bootloader logs came from OP-TEE Trusted OS,
Summary
Setting up hardware to boot and having some debug output is initial step to start development. Once this point is passed I can start to deal with UEFI and(or) ARM Trusted Firmware (ATF). It is important to note that documentation on GitHub and in Hardware User Manual is very good and huge kudos should go to Linaro people for putting so much effort into that.
Things that I would like to write about in future posts:
- UEFI setup for HiKey
- UEFI capabilities and limitation
- ATF development
As always please share if you think content maybe valuable to other.